Recommended for you
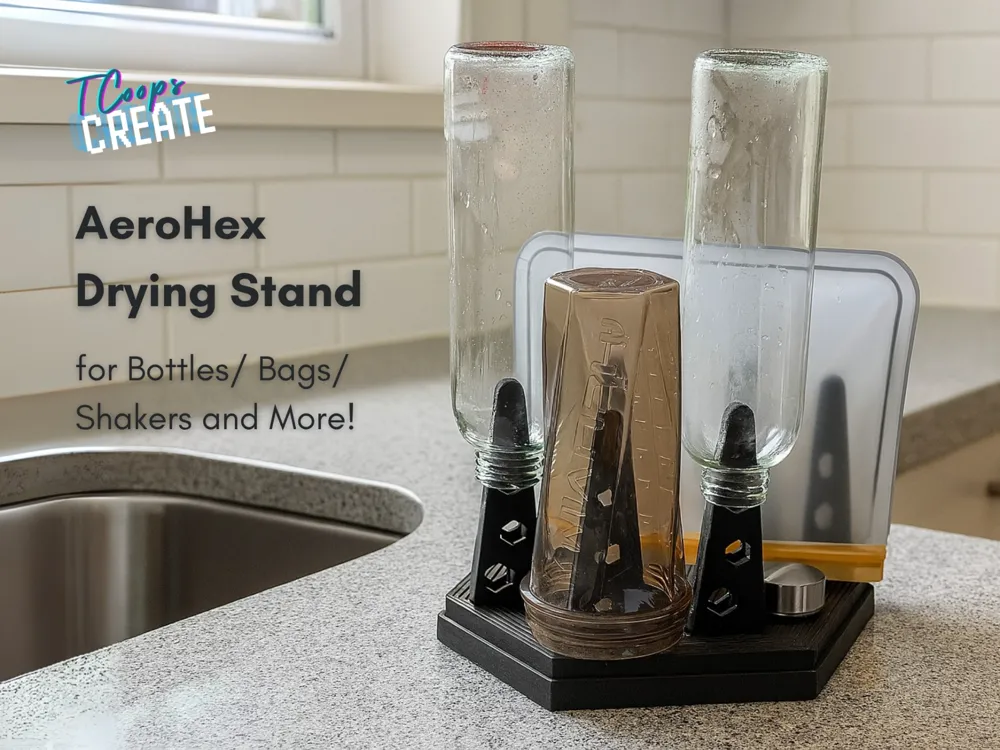
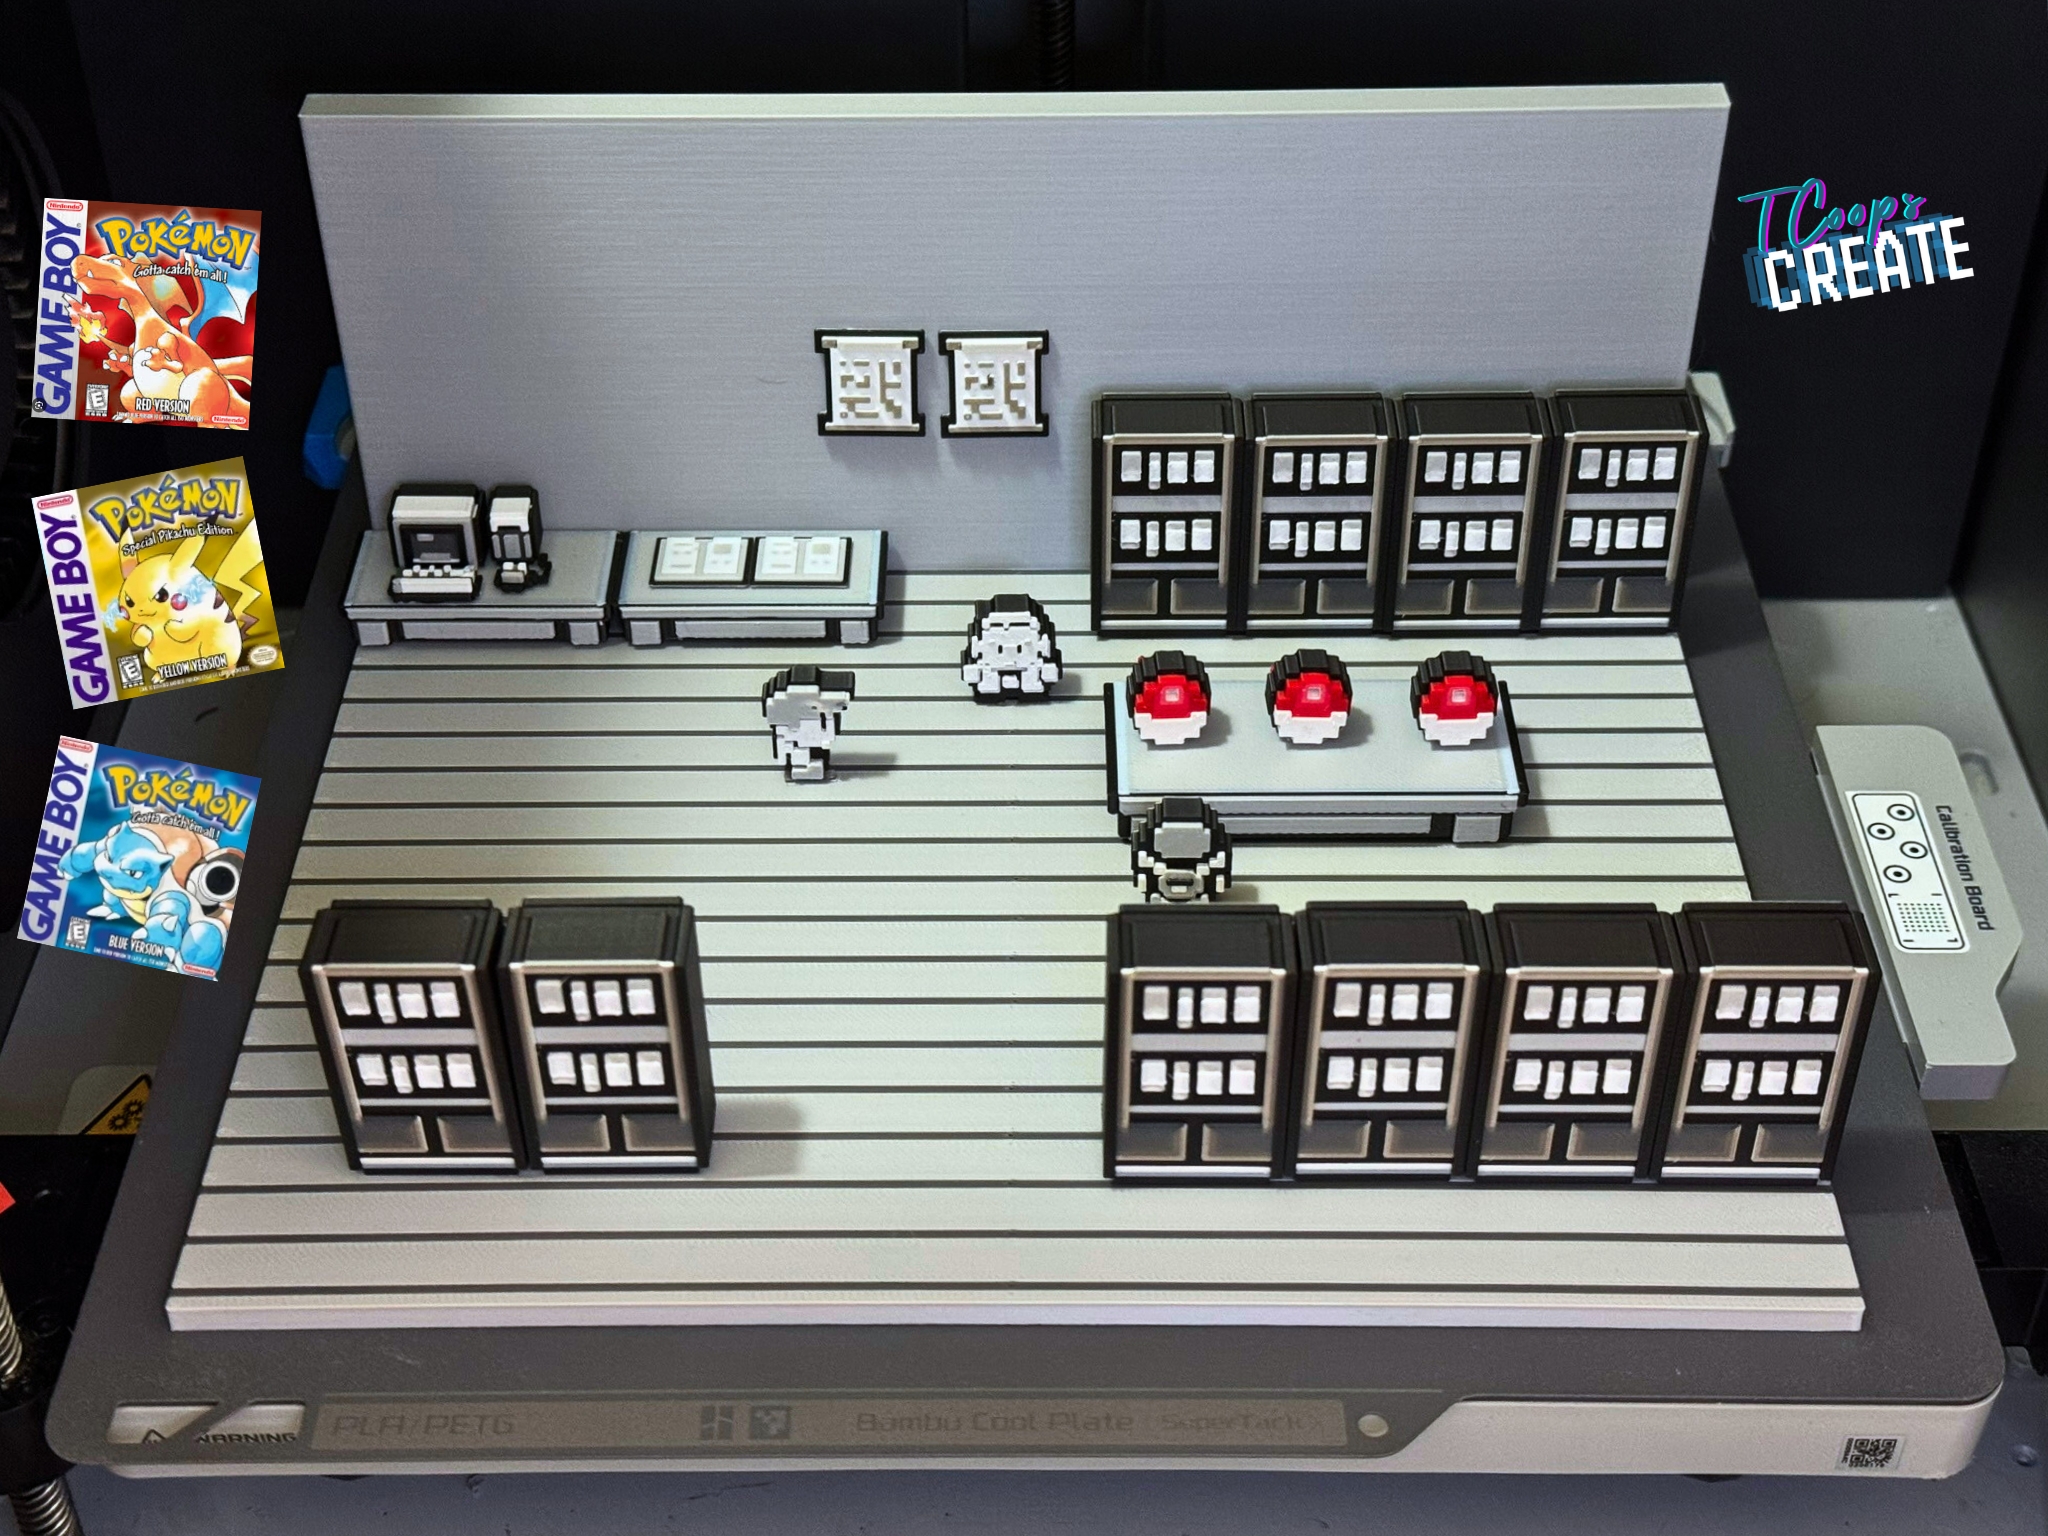 3D Printing · Our Models
Where Creativity and Expression Come Together
Some of the artwork, designs, and posts on this site are created with the assistance of artificial intelligence tools. These tools help enhance certain creative aspects, ensuring innovative and efficient workflows. For full transparency, you can read more about how AI is used in my work in my Privacy Policy.
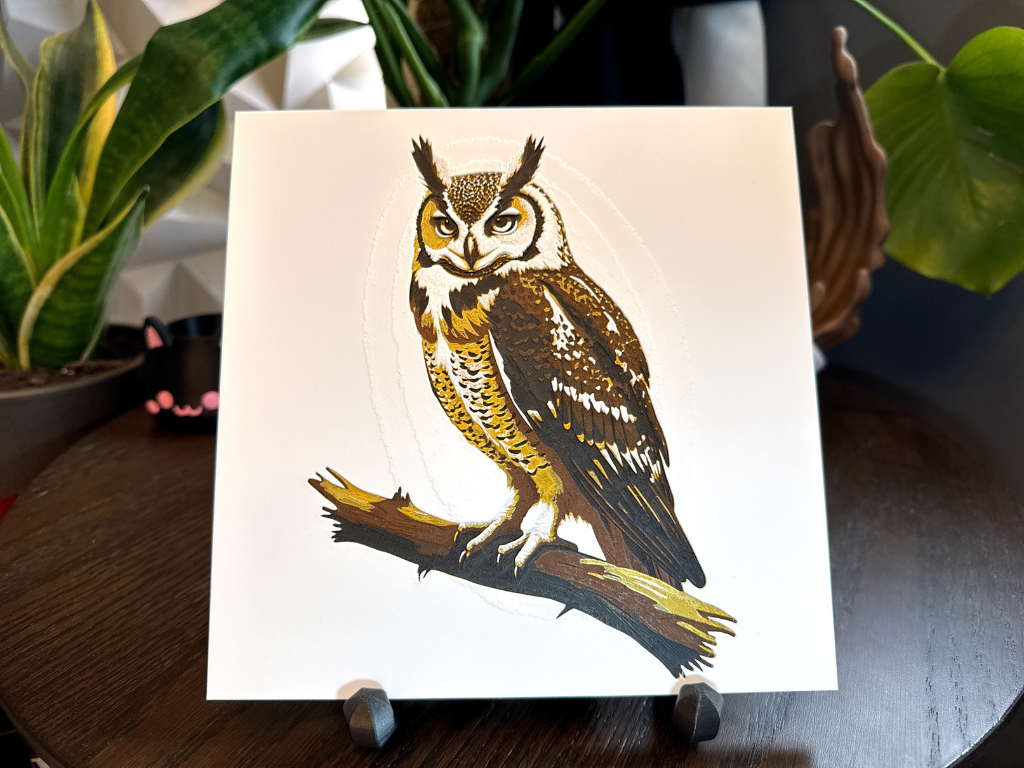
Hive ID: 11815
Links
©️ Copyright 2025 • TCoops Create is a TCoops brand • All Rights Reserved • Created with ❤️ by TCoops